Thursday, April 21, 2016

Fastening Planks

The only nails in the side planks where mortises are cut for the heads are along the stem and transom.

This is a short nail for the stem.  The larger head means its intended to pass through a plank and fasten into another timber, as opposed to edge nails which have very small heads.

One of the things I have learned teaching these techniques to students are a few tricks to make the process less error prone.  One is using a long, narrow drill bit to pilot a hole, like here at the transom.  The tsubanomi, or special nail chisel, will follow a drilled hole.  It is much easier for students to drill at the proper angle than try to master the chisel while also getting the hole in the right place.  As I withdraw the bit I move it from side to side so it opens up a wider hole in the plank.  This is to accommodate the shank of the nail at the head.  Then I properly cut the pilot hole with the chisel.

Once all the nail holes have been cut I use wedges inside the boat to open a gap between the plank and the bottom.

Then I used a caulking gun and got some silicone-based adhesive in the seam.  In the old days boatbuilders put raw lacquer in the seams, but this was an expensive material and once glues appeared the switch was made.  Japanese boatbuilders treat this more as a bedding compound than an adhesive.

I worked in five foot sections, wedging, spreading glue, nailing, then moving on.

I had two mistakes drilling holes in the transom (both times the drill came out inside one of the nail mortises on the back of the transom).  Wooden convenience store chopsticks were handy to plug them.  The lower fastening is into the bottom and I did what Murakami san did: pounded the nail flush then set it slightly with a nail set.  The wide head of these nails gets a good bite on the planking.

With the planks nailed on I could remove the props from the bow and sides.

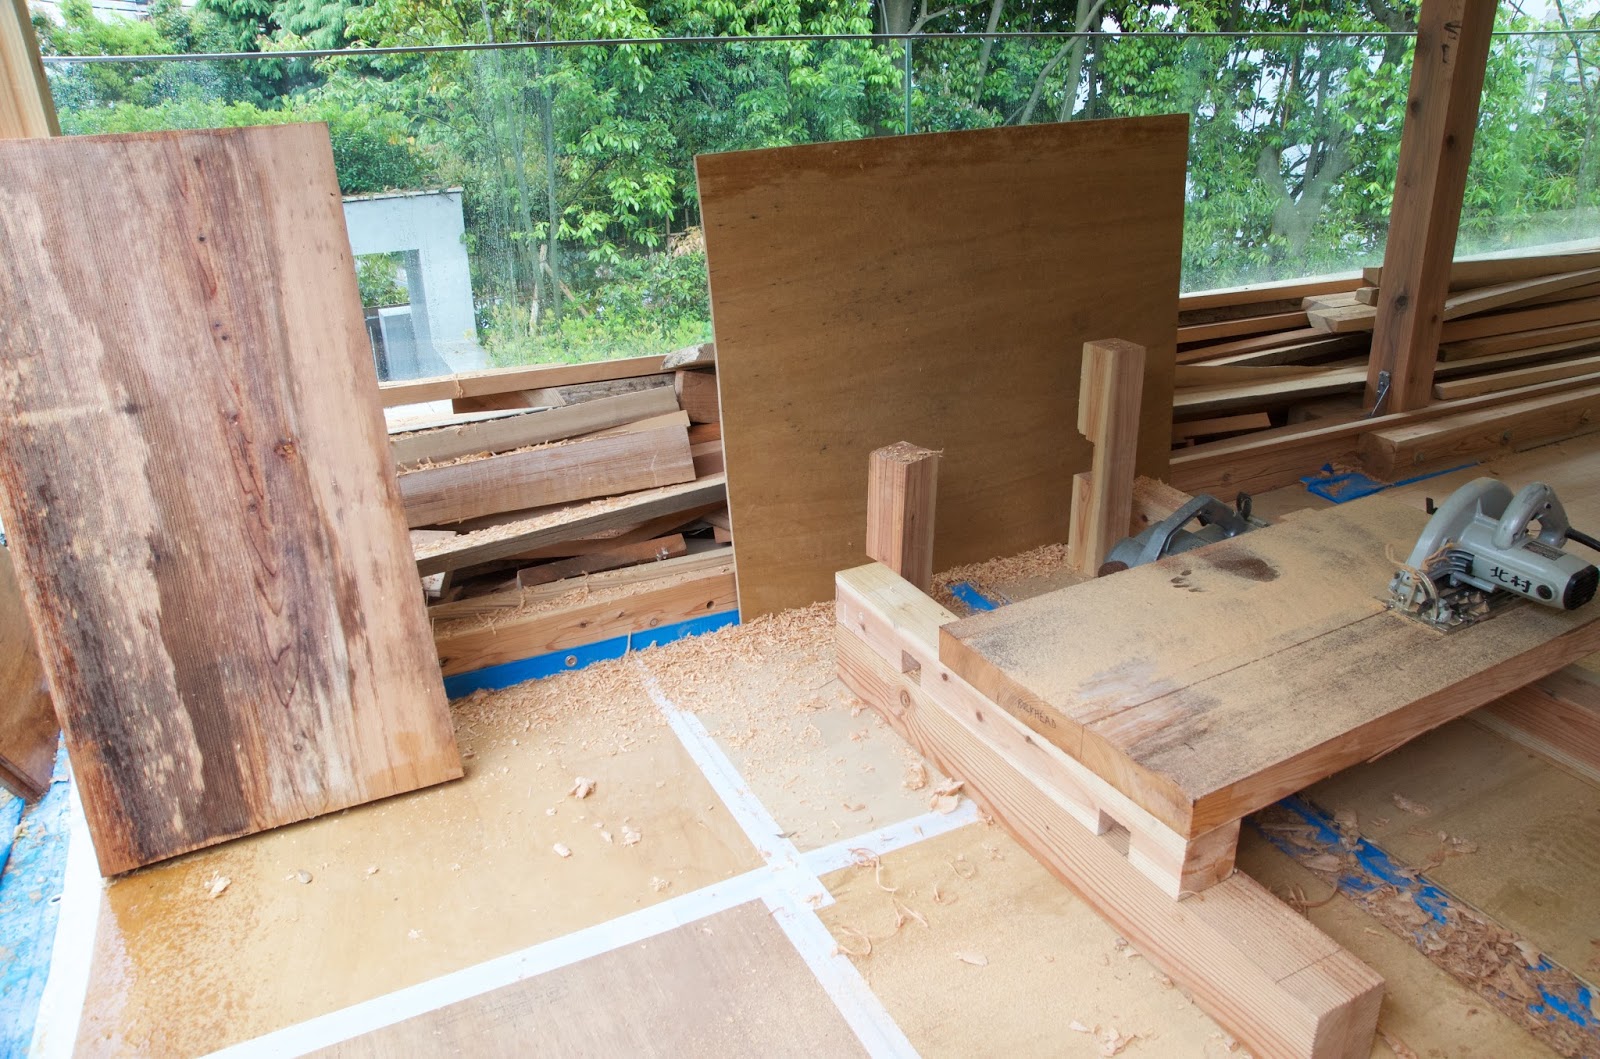
Today I worked on making the bulkheads, which came from some wide slabs of cedar...

... and the beams, which I cut from my hinoki timbers.


Sunday, April 17, 2016

Hanging Planks

Time to finally get the planks on the boat.

First I planed by hand the two side planks, removing all the marks left by the power planer.  

Murakami san didn't do this but its nice to see a smooth, finished surface.  The plugs show a bit of tear out because the grain runs the across.  With a sharp plane, however, its not too bad.

I then bent the planks around the boat, starting at the bow the way Murakami san does, propping things in place.

The hood ends wanted to rise so I had to hold them down with a prop.  Note also the steel dog, or staple clamp.  Japanese boatbuilders have dozens of these and I am just now beginning to use and like them.


At the stern I just use some pipe clamps.  

Once the plank was hung I realized I needed to get a better fit at the bow and stern, and one section amidships, so I began running a saw through the seams.

I decided at the bow I just had to take the planks off and do some planing at the bottom/stem connection.  Here's a look at the saw marks left where the plank fits to the stem.

And amidships.

Then I got to planing at the base of the stem.  This is always a tricky transition, especially in Japanese boats where the planks are one wide panel.


Planks bent back on a second time.  Much faster since the props are all cut to length, the wedges ready, etc.

Next is nailing.

Friday, April 15, 2016

Side Planks

I used Murakami san's method of just running a circular saw between planks to fit them.  Blog posts on other Japanese boats detail the method of fitting with handsaws, called suriawase.  Here you can see a slight saw mark, probably where I stopped the saw to change position.  I did a bit of planing cleaning these spots and then pounded the edges (something Murakami does heavily) right before gluing and nailing the planks together.

I chiseled all my nail mortises, first drilling out some of the waste.  I have switched her to the traditional nail mortise shape.  Murakami san uses a large drill bit and then plugs them with round, store-bought plugs.

The one angled mortise is next to the stem.

No in process shots of nailing the planks together as it was a warm day and I had glue on the seams.  I have just four pipe clamps and I moved them, closing the seam as tightly as I could, nailing, then moving on.

Out of 52 nails total one came through.  It probably missed the pilot hole and because all the nails have a slight curve it traveled in an arc.  The seam is visible to the right.

I chiseled a mortise around the point and bent it back...


Then bent the tip over one of my dogs...


Then clenched it in the base of the mortise and glued a plug over it.

Most of my edge-nails are on the outside of the plank.

A few at the bow and two at the stern are inside.  This is the way Murakami san does it, but all my other teachers kept all their nails to one side, usually inside of planking.

I drilled and mortised where there was a bad knot and plugged it.

The seam between the two planks crosses the middle of this photo horizontally.  Not a bad fit.  Obviously I photographed a good spot, but actually 90% of the seam looks like this after planing.

Here's a spot where you can make out a gap in the seam.  I've crammed a little glue in it.

One of the planks with the plugs cut flush.  Tomorrow I plane them by hand and start bending them on the boat.

Monday, April 11, 2016

Mt. Maya

Another day off and with the sun out and brisk temperatures we decided to take a cable car and tram to the top of Mount Maya and hike back down.  We were both surprised how high the suburban neighborhoods reached up the foothills.  At the edge of the housing was the cable car station that carried us halfway up the mountain.
Then it was time for the "ropeway" or gondola to take us to the summit.

Like the pair of cable cars, the two gondolas are connected, so one descending helps lift the other.

The view from the gondola give one an idea of the diversity of a natural forest.

View from the top looking towards Osaka.  

Kobe has massive landfill projects just offshore.  Kobe airport is on the narrow landfill visible furthest out.

It took us two hours to hike down from the top of the mountain (690 meters high).  The trail was real wilderness, with lots of evidence of wild boar activity.

A view of Kobe from about halfway down.  We could see our apartment building.

Looking west we could make out the bridge to Awaji Island, and in the distance Shikoko, one of Japan's main islands.

We reentered civilization via a gate that warned us to close it in order to keep boars out of the city.

Sunday, April 10, 2016

Backbone and Planking

I had to shore up the overhead beams in the shop in order to bend the bow down a bit.  At the stem the bottom drops 3 inches.  What this does is create a sharper entry for the hull forward and it helps the boats track straight in the water.  With a flat bottom like this the hull is likely to slew or skid otherwise.  I've seen this on boats in Tokyo Bay as well and in fact the chokkibune I built with my teacher in Tokyo had the same feature.


I roughed out the base of the stem first with an adze, then finished with a plane.

The base of the transom get a pair of bevels as well.

I made the corresponding cuts to the bottom for the transom.

And finished the joint with a rabbet plane.

The transom is fastened with five nails entering through the back and going straight into the bottom planks.  The excess visible on the bottom will be cut off later.

Chiseling the nail holes in the transom, following a guide line.

I use this chisel, with a unique tip, to clean out the hole so the nail isn't too tight in the transom itself and risk splitting the edge.  You rock this slightly while pounding so the two cutting edges clean the sides of the hole.

At the bow I check the angle with a bevel gauge and use a large dog to help hold the stem in place.  Japanese boatbuilders have dozens of these, which they call kasugai, or staple.


Some of the planking stock.  These planks have quite a sweep upwards aft, and I noticed in my notes last spring Murakami san used the material with the root edge forward for the lower half of each plank and the root end aft for the upper half.  The flare at the root is handy for providing the material for the sweep.  Normally Japanese boatbuilders orient all their material with the root end forward.  One of my teachers told me the reason is the root end is stronger (supporting the entire weight of the tree), but I also wonder if the more knot-free wood at the root is less problematic to bend at the bow?

Layout at the stem.  

I sprung my batten around the bottom and marked off the station locations for my plank layout.  Rounding the curve forward the station distance is increased slightly.

I've talked at length elsewhere in this blog about fitting planking by running a handsaw through the seam.  I decided to try Murakami's method and use the circular saw.  Its exponentially faster and the results are great.  Murakami didn't use a handsaw at all but went from the electric saw, to pounding the edge, to fastening.  Actually, he pounded edges much, much more than any of my other teachers.

I also noticed from my notes that Murakami san did the layout for each of the two planks.  In the interests of time I just used one plank to trace the shape of the other.  I couldn't think of any reason not to.  


Next blog post will describe nailing the planking material together, followed by hanging the planks on the boat.