
At a pre-project meeting Nasu san sketched out the bottom plank layout on a white board. I am used to working with extraordinary wide material building boats in Japan but this is my first apprenticeship with a river boat builder. Typical of these boats are very narrow planking on the bottom, to facilitate repair, since these boats sometimes operate in white water. Nasu san numbered the order of construction.

We also saw a film shot thirty years ago of Ando san, Nasu's predecessor building cormorant boats. The researcher who shot the film showed us one of Ando san's patterns, a piece of wood with bevels recorded on all four faces. I am not sure even Nasu san could definitely interpret it. He uses a different style of pattern.

Our first day and Nasu san is choosing planking for the bottom. We are working under a temporary tarp-roofed structure at Gifu Academy, right outside their woodworking shop.

My first big surprise came when I pulled out one of my saws in preparation for fitting the first planks (readers of this blog will be familiar with the method of fitting planking with a series of handsaws). My saw is on the right and Nasu san's is on the left. He rejected it immediately for obvious reasons. He fits the planking with a finer saw than even the finest finish saws of my previous teachers. The one on the right is my medium saw.

Nasu san uses bamboo wedges to open the planking for sawing.

After the saw fitting we do kigoroshi, literally "wood killing," pounding the edges to get a concave shape. All of my teachers used these two methods with emphasis on one or the other. I'd have to say Nasu san relies more on kigoroshi than almost anyone else I've studied with.

Next is drilling for our edge-nails. Nasu san is the only boatbuilder in Japan I've met using the momjiri, an ancient form of chisel drill from China. Our nails are square in cross-section as is the tapered chisel.

He inserts a wooden handle, then hits the head of the chisel with a wooden mallet and makes two to five swings of 180 degrees on the handle, then repeat.

He enjoys telling us we have to lick the nails thoroughly before inserting them in the pilot hole. He dipped one in and pulled it out to show us how the sawdust clings to the saliva. This is a good thing and he always adds that the nails taste delicious anyway.

Later, connecting the sides to the bottom, we will use these special nails with an angled head, called kasakugi, umbrella nail.

Our bottom is thirty-six feet long, each strake composed of three pieces scarfed with this joint. All our clamping is done with dogs which are used in creative ways. Here you can see dogs pulling the two pieces together both vertically, horizontally, and at an angle.

Nasu san brought in some caulking to show us, some made from the inner bark of makihada (the wood we are building with) on the left, and typical caulking made from cypress on the right. Nasu san said his wife prepared the makihada caulking. Japanese boats are typically not caulked when new; boatbuilders rely on a wood-to-wood fit.

The end of our fourth day, today. We've almost got the three center planks completed. We are gluing between planks in addition to nailing. There will be about one thousand nails in the boat.
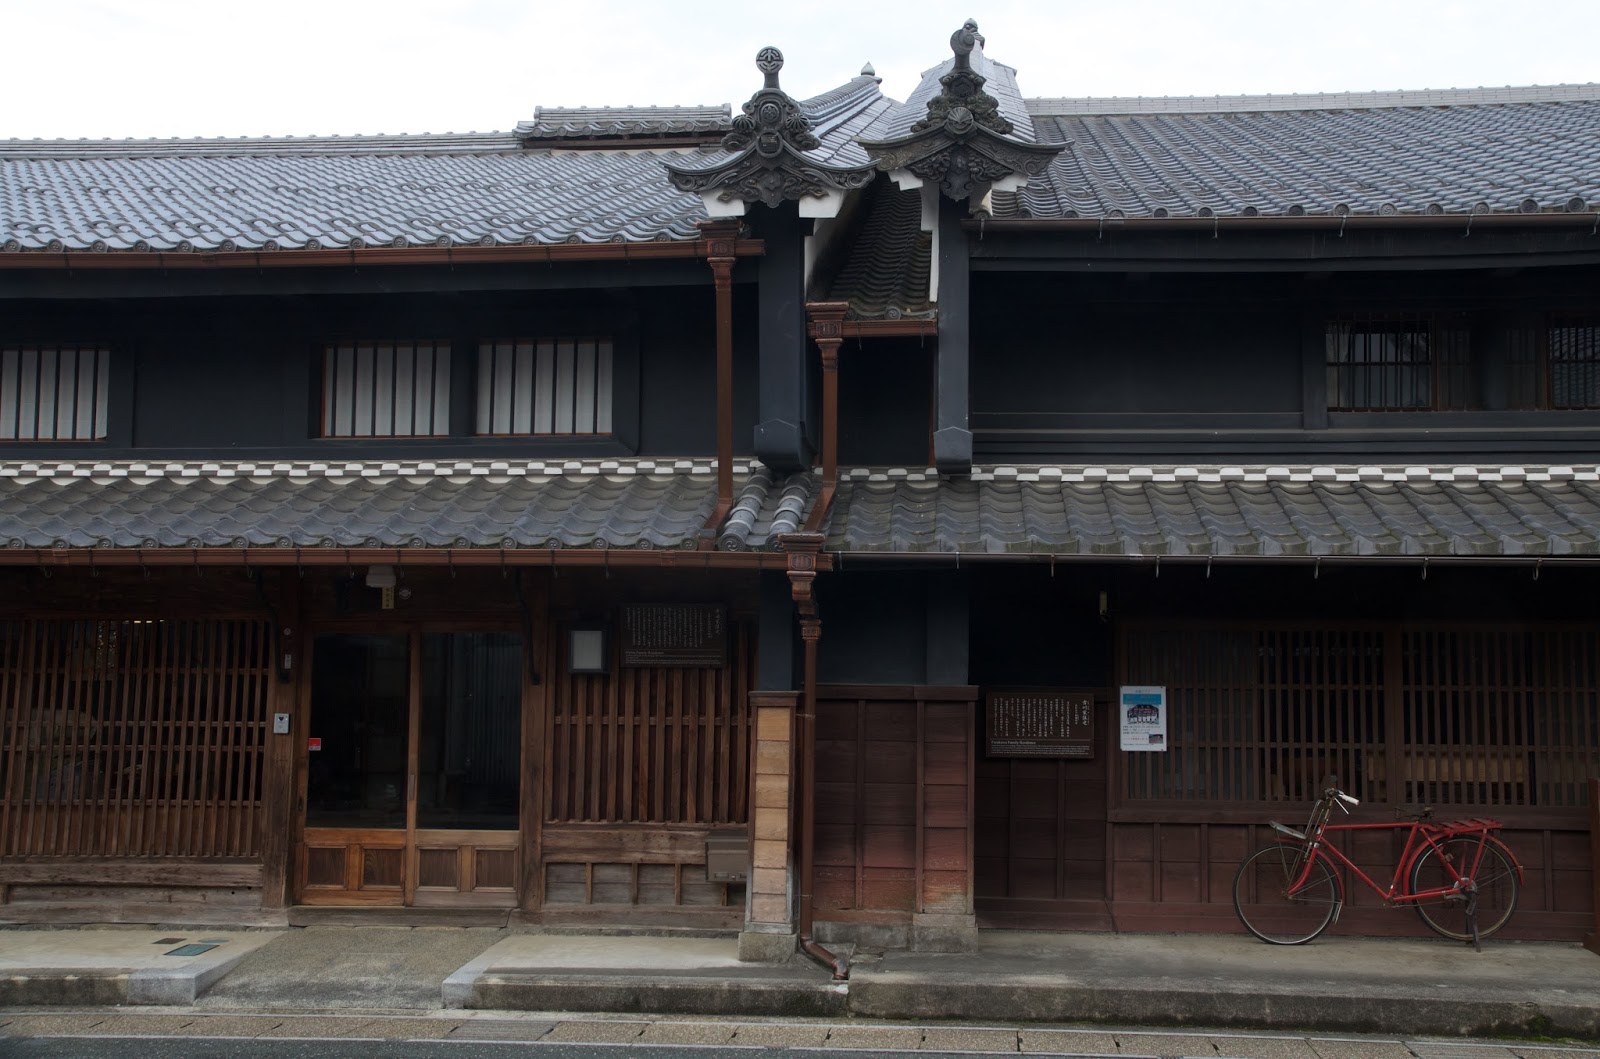
A street scene in Mino City. The town is famous for paper making as well as a nicely preserve neighborhood of traditional houses. Historically there were many wealthy merchants and makers in the paper industry.

No comments:
Post a Comment
Note: Only a member of this blog may post a comment.