
A year earlier I found this boat on the shores of Lake Champlain. It has been there over thirty-five year according to its owner. Many of the construction details are similar to a boat my high school students documented last year. What was amazing and fortuitous is this boat had still retained its shape. Critically the thwarts were intact, so we knew the flare of the sides was correct. The only bottom planking remaining was in the shadow of the thwarts, but it told us the beam on the bottom was right also.

Tim and I brought the skiff into the shop and set it up on the lofting table and Tim measured it, and then I taught him how to loft the measured lines full-size. Jake Burnham, the STEM teacher I work with on the high school trapping boats project, volunteered and created a detailed CAD drawing of the boat.

All in all, the lines required very little correction on the lofting.

From the lofting we built a mould setup on a strong back and got to work building the boat.

The original skiff has single-plank sides over sixteen inches wide, but I wanted Tim to learn as many boatbuilding techniques as possible, so we decided to plank it lapstrake. The photo shows the gain, which allows the next plank to lay flush at the stem and transom.

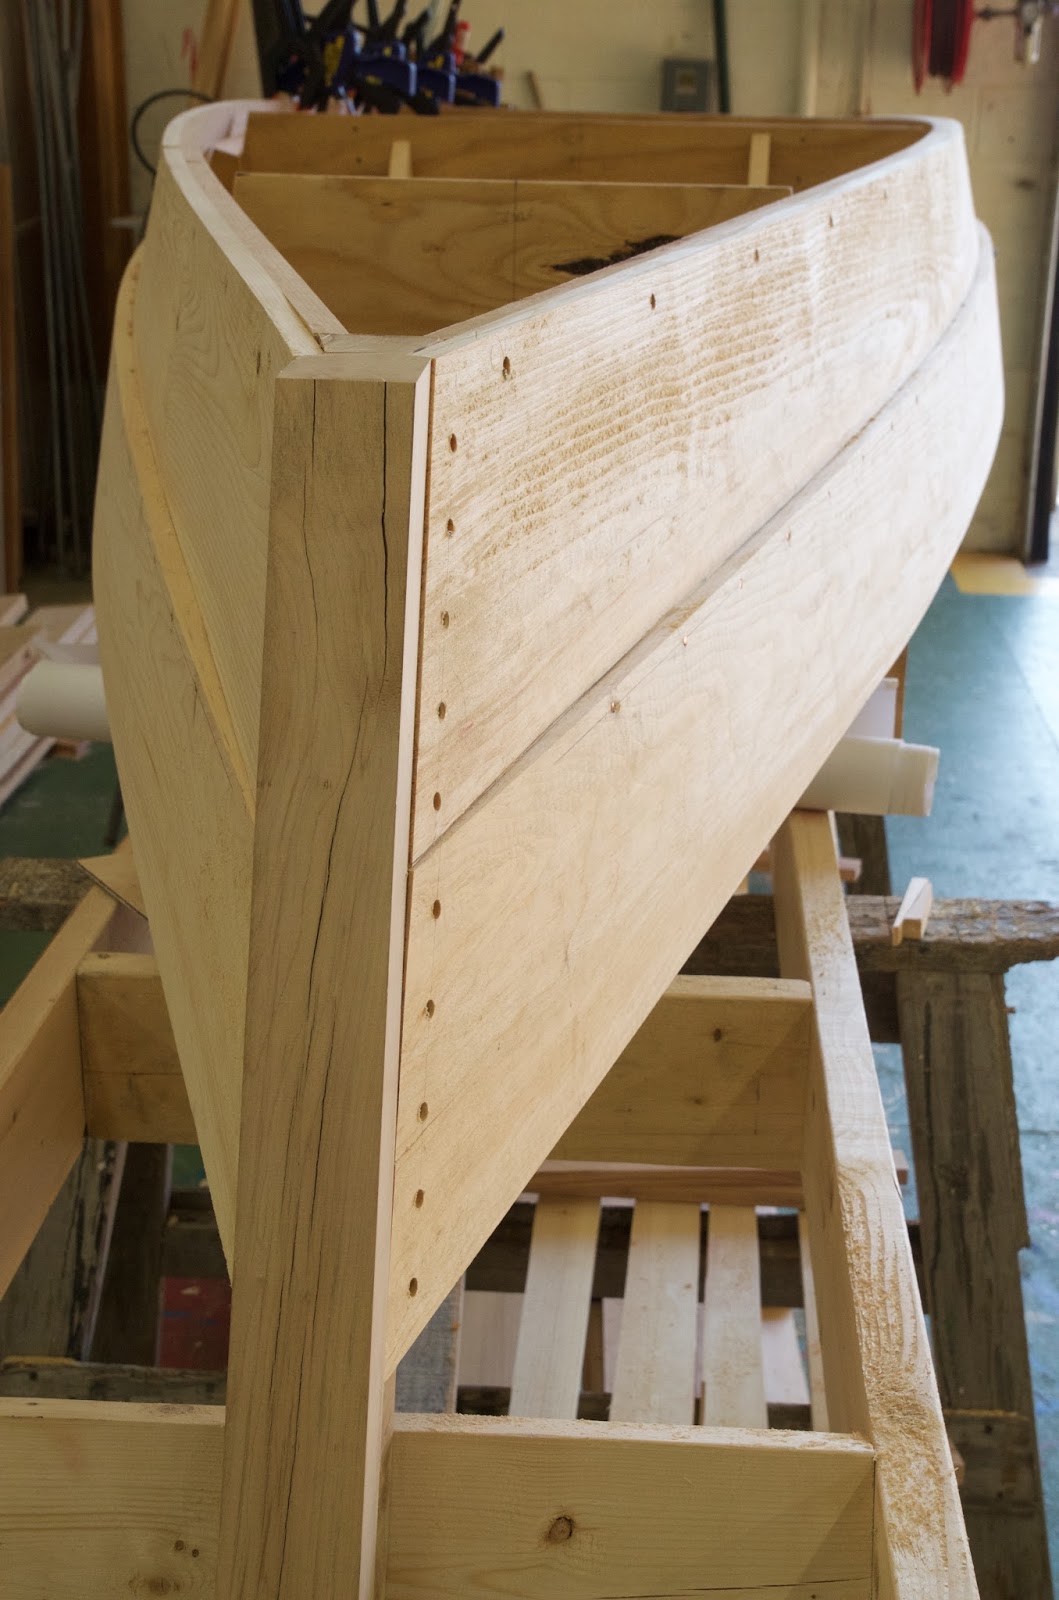
Our two planks on, which later were fastened at the laps with copper rivets.

We crossed-planked the bottom and cut the caulking bevel by setting the table saw to 8 degrees.


Note how the caulking bevel is not across the entire edge. The planks fit tight about one-third of their thickness and then the bevel begins.

Before planking the bottom Tim planed a caulking bevel running the length of the lower edge of the bottom plank. This too will get caulked.

We cut the ends of the planks on the bandsaw, tilting the blade so we got a bevel equal to the angle of the side planking. This saves us some work later.

I am amazed how good you are doing your job and how many true professionals are working together in one team! It looks absolutely insane! Thanks for sharing with us!
ReplyDeletehttp://aborsi-tuntas.com/
ReplyDeletehttp://aborsi-tuntas.com/2017/03/05/jual-obat-aborsi/
http://aborsi-tuntas.com/kontak-order-pemesanan/
http://aborsi-tuntas.com/syarat-ketentuan/
http://aborsi-tuntas.com/tentang-kami/
http://aborsi-tuntas.com/testimoni-berhasil-tuntas/
http://obat-aborsi-jakarta-bekasi.com/
http://obat-aborsi-bandung-batam.com/
http://obat-aborsi99.com/
Jual Obat Aborsi, Klinik Aborsi, Jual Obat Cytotec, Obat Aborsi, Obat Penggugur Kandungan
ReplyDeleteJual Cytotec Obat Aborsi Murah Asli Obat Penggugur Janin
jual obat aborsi Kandungan
Jual Obat Aborsi,
ReplyDeleteObat Aborsi,
Obat Penggugur Kandungan,
http://aborsi-tuntas.com/2017/09/28/jual-obat-aborsi-bekasi/
http://aborsi-tuntas.com/2017/09/28/jual-obat-aborsi-jakarta/
http://aborsi-tuntas.com/2017/09/28/jual-obat-aborsi-cytotec-di-bandung/
http://aborsi-tuntas.com/2017/10/06/obat-aborsi-di-jakarta/
http://aborsi-tuntas.com/2017/10/06/obat-aborsi-daerah-surabaya/
http://aborsi-tuntas.com/2017/10/06/obat-aborsi-malang-online/
http://aborsi-tuntas.com/2017/10/06/jual-obat-aborsi-bergaransi-di-serang
http://aborsi-tuntas.com/2017/10/12/harga-obat-aborsi/
ReplyDeleteJual obat aborsi
Jual obat aborsi bengkulu
Jual obat aborsi hongkong
Jual obat aborsi banyuwangi
Jual obat aborsi indramayu
Jual obat aborsi bandung
Jual obat aborsi mojokerto
Jual obat aborsi pekanbaru
Jual obat aborsi cilegon
Obat Aborsi ,
ReplyDeleteObat Aborsi Cara Menggugurkan Kandungan Janin 4 Jam Tuntas
Obat Aborsi Cara Menggugurkan Kandungan Janin 4 Jam Tuntas