
Koji tracked the boatbuilder down after finding this builder's tag nailed to the transom of an abandoned boat.
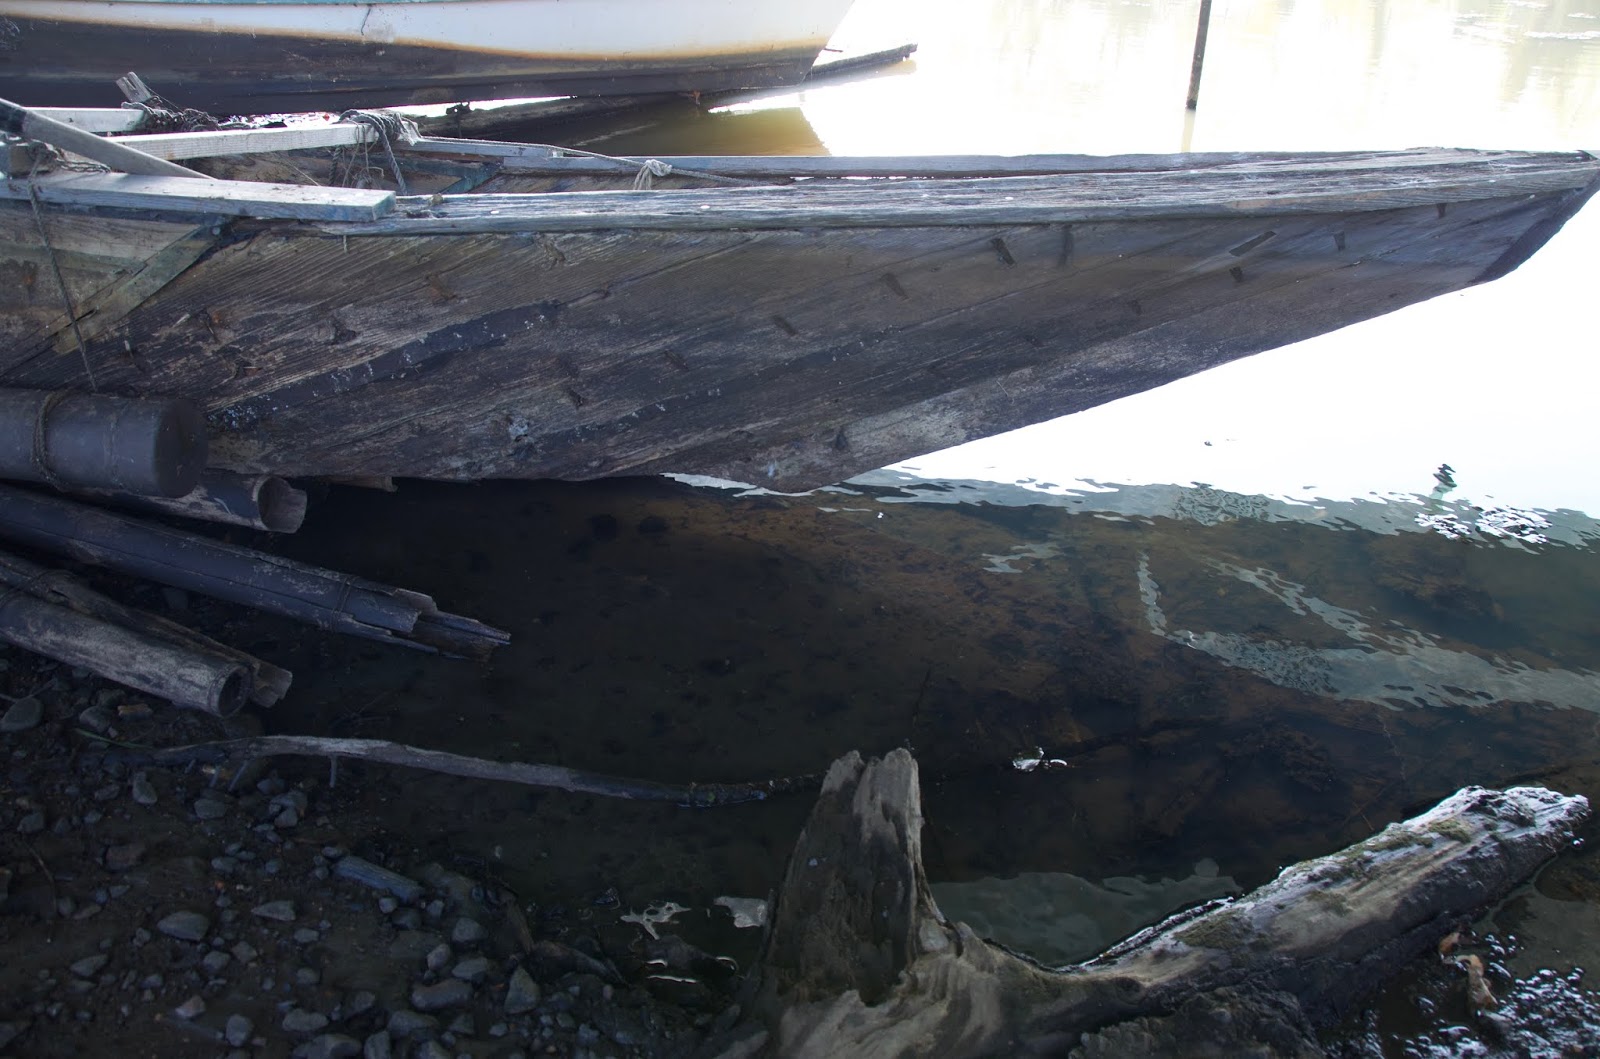
No point in trying to describe the bows of these boats. The photographs illustrate things better than I can describe. The side planks are nearly straight but where the hull rounds to the bow the planking runs at about a forty-five degree angle. These planks are not curved; the bottom is faceted to receive them. Koji had earlier discussed this with Okumura and he said first you construct the bottom (five planks edge-nailed together) and then fasten the stem to it. The bow planking starts at the stem and proceeds aft. We noticed the first two planks are parallel-edged, but the last one is tapered, which makes perfect sense as a shutter plank fitting tightly to the side planking. Everything is edge-nailed and then nails are driven into the sides through the aft edge of the shutter plank.


Hard to see, but a wedge is visible in the seam running horizontally across the center of the photo.

Copper covering the seams where the covering boards meet at the bow.
The first question would be: how does the builder get a watertight fit in the bow planking? Readers of this blog are familiar with the Japanese technique of running a series of saws through the seams to make a tight fit, and while this is probably possible here it seems problematic. As we looked closely at the boat we were going to measure, we noticed long, thin wedges driven into these seams from the inside, running from the bow about half way up the angled seam. I think this may have been a technique to back up caulking (Japanese caulk their boats from the inside), or it may have been a later repair. You can see copper covering seams and on larger versions of these boats every seam in the bow had a strip of copper covering.

Messing about in boats... as they say.
Transom construction of these boats is interesting too. The planks do not overlap the sides of the transom; rather the transom rests on the bottom and covers the end of the side planks. The nails come from aft through the transom and into the end grain of the planking. The joint is wrapped in copper so you can't actually see it in this photo. Twenty years ago I interviewed another boatbuilder on the lake and he said this was to avoid splitting the planking. One could argue the fastening are now at the edge of the transom but the transom is thicker and more resistant to splitting. I built a boat two years ago in Himi, Toyama called a zutta tenma which had the same construction.

We stopped to see another boat, actually a nicer design in much more original condition, but its swamped and pretty impossible to measure. Notice how it has a clear curve to the sheer, unlike the boat we measured which has flat sides that only rise up at the bow. One mystery was we could not see any sign of a fastening between the aft bow plank and the side planking.


We went to see Okumura san and had a brief chat. He stopped building boats decades ago and runs a boat rental business. Off to one side were were surprised to see a pile of lovely lapstrake wooden rowboats, the remains of his original rental fleet (now his boats are fiberglass). Okumura san designed and built them, but what was really fascinating was discovering that he fastened the transoms the same way! Note the line of small fastenings at the end of the planks; which indicate a rabbet runs around the edge of the transom. He said these boats were framed in keyaki and planked in hinoki. They seem in great shape for their age (about thirty years old). We also noticed on one boat a symmetrical line of scarfs in the planking, each successive scarf hitting the adjacent frame. That breaks some cardinal rules of boatbuilding but the hull was fair and it hadn’t seemed to cause any problem. The plywood paddle boards sitting on top of the boats were for people to sit on. Little did Okumura know he’d invented the stand-up paddle board!


Okumura san and his lumber pile. The material is up to thirty years old.

His original lapstrake rental fleet and plywood surf boards.

A rabbeted transom!

A final thought on these boats and their strange construction: Okumura san told Koji that in this region there were few professional boatbuilders. People worked a wide variety of trades and had to be farmers, fishermen, and carpenters. These techniques may have been developed by people cut off from notions of “standard” boat construction. These boats may also descend from the single-log dugout. Elsewhere in Japan I’ve seen very unusual boats which followed on dugout traditions.
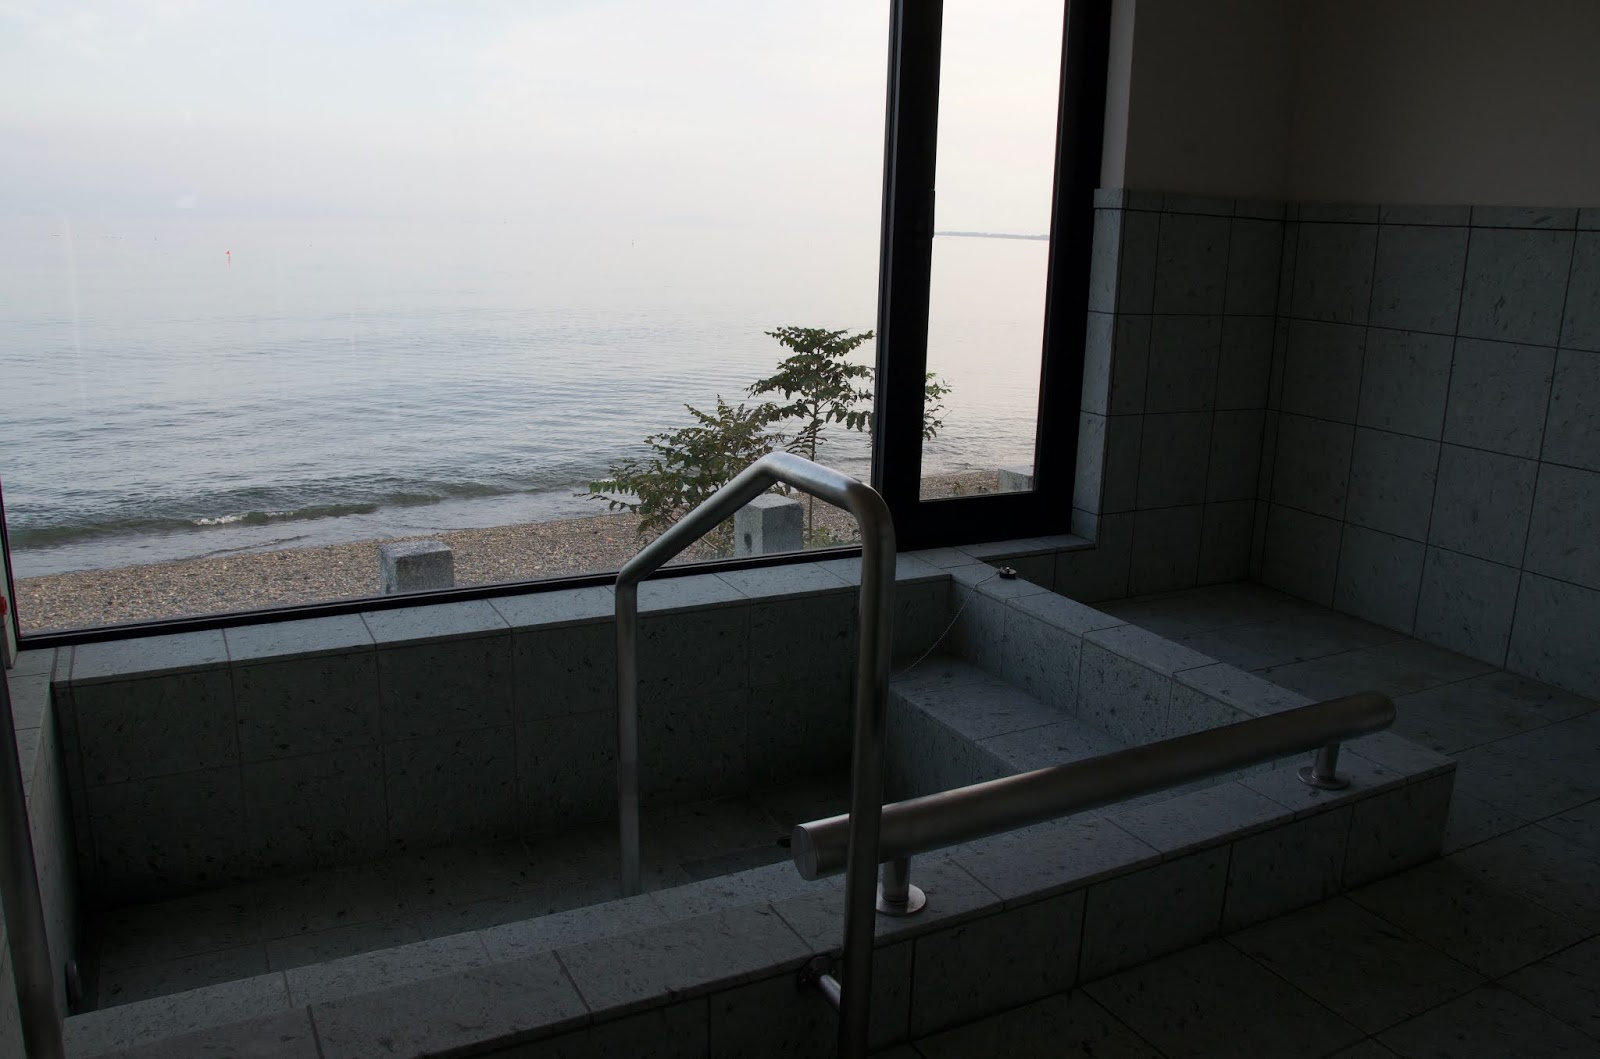
My host here let me stay in a traditional property he renovated. We toured his latest project, a 125 year old inn built right on the water. He’s five years into a complete restoration. As much original material as possible was saved and restored. Some spaces were completely renovated and modernized. The huge clay oven was built new to replace the original. The back rooms on the first and second floor look out on the lake, as does a first floor bath.


This modern kitchen counter was designed with a footwell on one side where people sit on the tatami floor on one side of the counter, while there is an even deeper floor on the other for the cook to stand. The owner eventually plans to reopen the property as an inn. The owner’s website has historic images as well as images of the restoration (click on the Portfolio page).

No comments:
Post a Comment
Note: Only a member of this blog may post a comment.