
My long chunks of book-matched hinoki.

The koberi get rabbeted out to fit over the top edge of the planking over most of their length (save but for a foot or so at the bow). I have to cut an angle to match the sheer edge, which means changing the saw angle five times as I cut the length of the timber.

The finished koberi, forward. You can see where it will notch over the planking, and then tapers to the bow.

Cutting the gain forward. The un-rabbeted part of the koberi fits in the notch in the planking, flush to the inside.

The finished gain. Its an interesting construction detail the way its notched in.

The koberi runs aft and gets cut off later at the back of the transom.

It was actually a massive fight to bend it both around the boat and down to meet the sheer. I used pipe clamps and props and, frankly, was pretty worried about whether the fastenings would hold it. I fastened it first amidships, then aft (Murakami san fastened it first forward and worked aft), and then I used all my clamps forward to hold it while I nailed. I do not remember Murakami san struggling with this the way I did. Maybe he just horsed it into place and didn't worry the way I did.

Long nails go straight down into the plank edge from the top of the koberi. My notes said Murakami san used only seven nails per side, but then I recorded his spacing was between 1.2 and 1.5 shaku. This would have meant seventeen or so nails. Such are the discrepancies that creep into the research when things are happening fast (did I mean to write "seventeen" but something distracted me?). With my boat I was so worried about it holding I opted for seventeen nails.


From the side the koberi is clench-nailed. First I drilled a hole...

...then I mortised for the head, and chiseled a wide hole through the koberi for the shank of the nail.


The nail tip comes through and I bent it over...

...and drove the tip back into the planking.


Murakami san sent us a toko, or after beam. This was the beam he mounted on our boat last spring. At that time he said he'd be changing the toko for one with a motor mount.

Here's the rough layout of the kuru koberi. This small plank aft is, I believe, to strengthen the plank ends, which would otherwise be fragile aft of the transom. Also, in larger Japanese boats the planking aft can have severe runout in the grain, which also makes them weak. The kuru koberi is often decorated with carving. Murakami san didn't do more than put a bevel on the forward edge, but my fourth teacher in Aomori, the prefecture just north of Murakami san, was part of a tradition where these planks were highly decorated. The isobune of Aomori also feature carved bottoms and plank sides.

Today was also my final workshop. We had over fifty people for a two-hour session on fitting planking with a saw, pounding the edges and nailing them together.
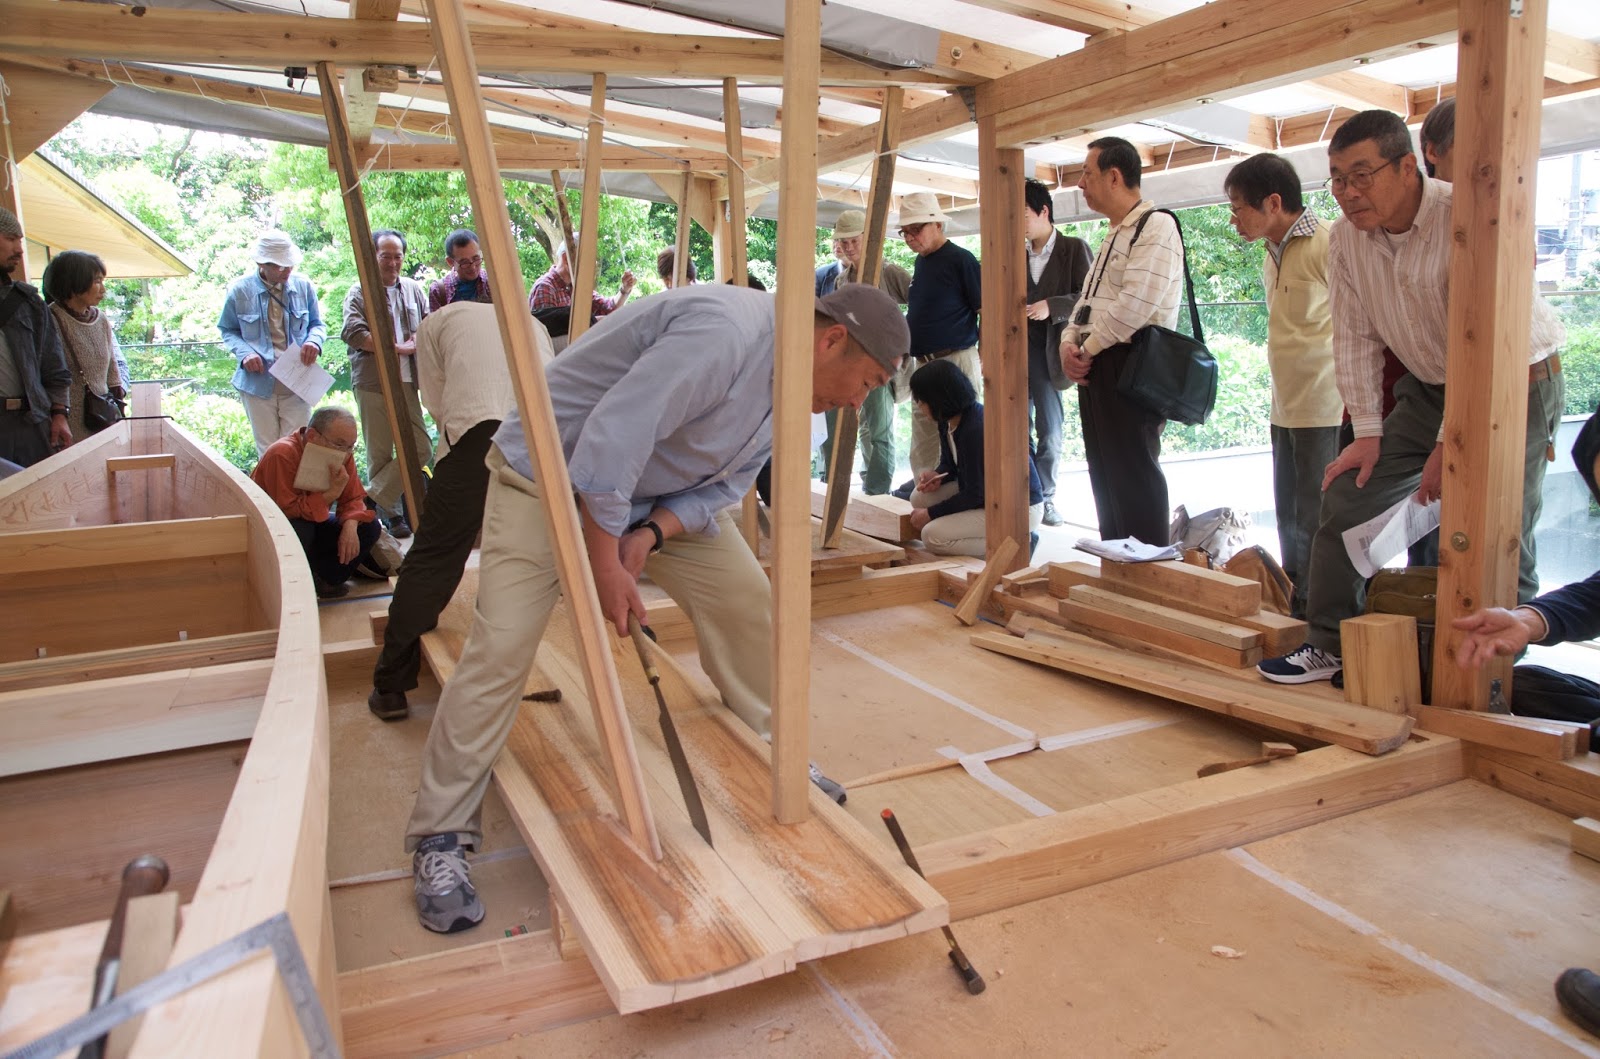
I got people into the act fitting some leftover planking material that I am later using for floorboards.

Pounding the edges.

Chiseling mortises for the boat nails.

No comments:
Post a Comment
Note: Only a member of this blog may post a comment.